Low and High Fidelity Prototyping for User Testing
Both low and high-fidelity prototypes are rough versions (models) of a digital product that a designer may use to monitor how customers respond to a particular procedure. Prototyping is mainly used for testing new features and fundamental design principles.
In the case of digital products, prototyping is a visualization of the final interaction between the user and the interface.
Low-fidelity prototypes
Low-fidelity prototypes are the first iteration of a future website, platform, or application. This kind of prototype is tested at an early stage of the design process to ensure that the product's concept is correct. It is also a good technique to find out what people think of the product, a particular block, or flow.
There are two types of low-fidelity prototypes: paper and digital.
Paper drawings done by hand are called paper prototypes. Never underestimate a prototype of this nature. Many fantastic websites, programs, and platforms start with the paper. I enjoy selecting a prototype template with Sneakpeekit and then printing it.
Digital prototypes, or wireframes, are built-in special editors for prototyping. Several tools explicitly imitate the look of a sloppy drawing to bring attention to the project's structure rather than the aesthetics. This helps users understand the underlying idea, the relationship of different elements and the general flow of information instead of focusing on shiny design elements. These sketches depict blocks on pages, transitions, and basic functionality.
Prototypes are tested on the target audience. It's not a good idea to test prototypes on friends and coworkers because they might not be your target audience or have professional deformation. Thus, the results of prototyping can be distorted. For further information, visit our blog post about usability testing. After testing prototypes, specialists summarize the information received and look for opportunities to improve functionality.
Advantages of using low-fidelity prototypes:
- Less time spent on prototyping;
- Making changes in the low-fidelity prototype phase is more effortless than during the creation of high-fidelity prototypes or during development;
- Helps figure out whether the concept of the project is clear to users;
- Low-fidelity prototypes put less pressure on users. They can feel more relaxed and express their views in more detail;
- The intermediate stage of the design will be available for stakeholders, so they will not expect the complete design immediately;
- Offers a good understanding of the product and users.
Takeaways:
- For low-fidelity prototypes, it is better to avoid using colours, as they can distract the user's attention. Don't waste your time doubting your colour palette;
- The concept is your priority, so do not detail the prototype;
- It is essential to test prototypes with at least five people. Thus, the conclusions related to the concept will be more objective and detailed.
Who is responsible for the building prototype?
- UX designers
- UX / UI designers
- Product designers
- Marketers
Digital Prototyping Resources:
High-Fidelity Prototypes
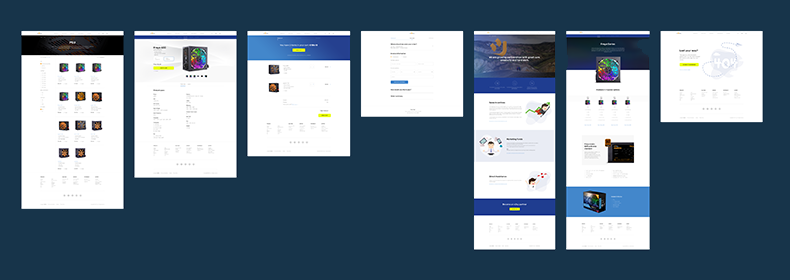
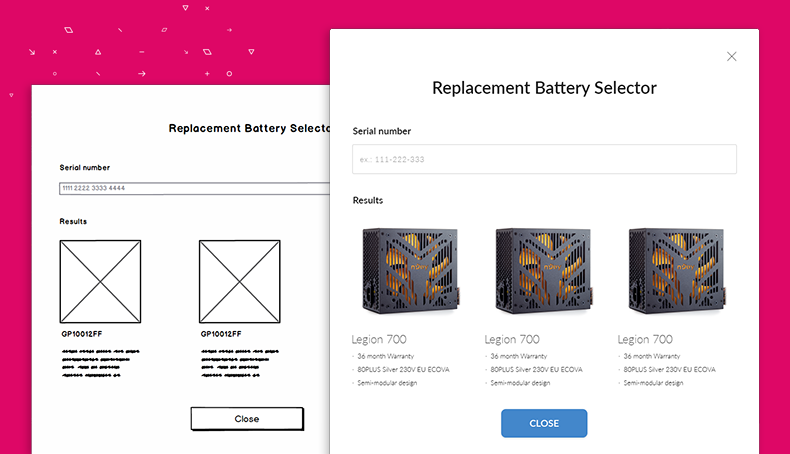
These prototypes are mockups and look like a final product with pixel-perfect elements. It can be created as a prototype with no interactive functions, as a high-quality interactive prototype or as a developed HTML/CSS page. I prefer the first solution as it requires less effort and doesn't need developer input. This option will save you time and money.
High-fidelity prototypes are tested on users to determine whether the interface is user-friendly and intuitive or whether the design tests for compliance with accessibility standards for those with various types of visual impairment (sometimes this is called "Accessibility testing").
After testing the high-fidelity prototype, the results are approved by the customer/product owner and then handed over to the development.
Benefits of using high-fidelity prototypes:
- They help test UI elements as well as functionality. — menus, filters, input fields, graphic elements (icons, photos, illustrations, animation);
- Due to the high accuracy of these prototypes, it is possible to get more detailed conclusions about the specific site.
Takeaways:
- Users don't need to be instructed on how to use the website. Let them make their own decisions. Your task is to observe and then understand why they made such a choice;
- Be prepared for the test. You should always have a list of questions you may ask users after testing.
Who is responsible for the prototype creation:
- UI designers
- UX/UI designers
- Product designers
Prototyping tools:
In conclusion
Prototypes are divided into two categories: low and high-fidelity. Designers employ low-fidelity prototypes in the early stages of the project to ensure the content is accurate. High-fidelity prototypes are created at later stages of the design process in order to evaluate all current hypotheses. After testing responses with previously prepared questions, remember to interview the participants.